
Finding a dusty, neglected chair in your grandparent’s attic, dreaming of its potential. Sound familiar? Many of us want to dive into refinishing old furniture, but fear takes over.
What if we ruin the piece? I’ve been there. After countless weekends turning flea market finds into beloved home decor, I’ve cracked the code.
And it’s simpler than you think. This guide will walk you through each step, slowly and gently. No more intimidation, just practical advice to bring that piece back to life.
By the end, you’ll confidently add a soulful touch to your home. Ready to start?
Finding the Perfect Piece: Start Your Restoration Right
Refinishing old furniture is an art, and it all starts with choosing the right piece. You can’t just grab any old chair or dresser off the curb. You’ve got to know what to look for (and what to run from).
What to Look For (The Good Signs):
First, solid wood construction is a must. Skip the particleboard junk. How can you tell?
Check the grain on the edges. If it’s heavy, that’s a good sign. Dovetail joints in drawers scream quality.
You don’t see that in today’s mass-produced stuff. Also, seek out unique character. Details you won’t find in a big box store.
A sturdy frame is key. Even if it’s ugly, if the bones are good, you’re in business. Pro tip: Wobbles can be fixed, but a cracked frame?
That’s a whole other beast.
What to Avoid (The Red Flags):
Steer clear of severe water damage. Warped wood or deep black stains will be a nightmare. And if you see fresh sawdust, you might have an active woodworm problem.
That’s not a friend you want. Missing structural parts can also be a deal-breaker. Finally, those strong, musty odors?
They might never come out.
Remember, you’re looking for good bones. The finish can be ugly, but the potential is what matters. Want to tackle something more challenging?
Maybe you’re ready to how to build custom bookshelf. Dreams of crafting something unique start here.
The Prep Work: Cleaning and Disassembly Done Right
Ever tried refinishing old furniture without proper prep work? It’s like painting on a dirty canvas. You can’t skip this step unless you want to do it all over again.
A clean canvas is key to a beautiful result. Trust me, I’ve learned the hard way.
Start with a gentle mix of mild soap and water. Test it on a hidden spot first. You don’t want to ruin the finish.
Once you’ve cleaned the surface, it’s time to tackle the grime. A 50/50 mix of white vinegar and water works wonders. It cuts through grease and old wax like nothing else.
You might be wondering if you really need this step. Yes, you do. It’s like peeling back layers of time.
I’ve spent hours trying to remember which screw goes where. Avoid the headache: use small labeled plastic bags for screws, hinges, and hardware. Label each bag according to its part, like ‘Top Right Drawer Pulls.’ This is your insurance against chaos.
Now, disassembly is where many people falter. You need to take photos at each stage. It’s easy to forget how it all fits back together.
Safety matters too. Wear gloves. You’ll be surprised at the dirt and old cleaning products lurking there.
Your hands will thank you.
So, why not just dive in without all this prep? Because it’s the foundation of your project. Just like any good story, the beginning sets the tone for the rest.
Get this part right, and the rest will follow.
Furniture First Aid: Quick Fixes for Common Problems
Refinishing old furniture doesn’t need to be rocket science. Sometimes, all it takes is a little elbow grease and some know-how. to the nitty-gritty of giving your furniture a facelift. First up, those wobbly legs and joints.
Nothing screams unstable like a chair that shimmies under you. No one wants that.
Here’s the trick: carefully pull the joint apart (if you can). Clean out the old glue, because it’s useless now. Modern wood glue is what you need.
Once you’ve applied it, use clamps or even some rope to keep it tight while it dries. It’s like putting a Band-Aid on, but with more power tools.
Scratches and gouges are another common nuisance. You’d swear your furniture was in a bar fight. For those, grab a decent wood filler.
Overfill the scratch a bit, let it dry, then sand it smooth with the surrounding wood. It’s like magic, but without the wand.
And what about those sticky drawers? Oh, I’ve been there. It’s usually because of wood swelling or friction.
The fix is simple: rub a wax candle or a block of paraffin wax on the runners. It’s like WD-40 for wood, but less messy.
Feeling brave? You can even start transforming your garage workspace while you’re at it. Who knows what other DIY adventures await?
The beauty of these fixes is in their simplicity. You don’t need to call a pro, just a little patience and the right tools. Now go on, show that furniture who’s boss.
The Transformation: A Beginner’s Guide to Refinishing
Refinishing old furniture is like giving a second life to a piece that’s been neglected. It’s the most visually dramatic step in furniture restoration. First, let’s talk about stripping the old finish.

I’d recommend a gentle, citrus-based stripper. It’s less intimidating and doesn’t fill your space with nasty fumes. You just paint it on, wait for it to bubble (the fun part), and then gently scrape it off with a plastic scraper.
Trust me, this isn’t the time for metal tools unless you want to gouge the wood.
Now, onto sanding. Here’s where many beginners get confused. Sanding serves two purposes: smoothing repairs and prepping for a new finish.
For repairs, start with a coarser grit, like 120. But for prepping, you’ll want to finish with a finer grit, say 220. Always, and I mean always, sand in the direction of the wood grain.
This avoids that horrid scratchy look.
Let’s move to finish options. If you want to highlight the natural beauty of the wood grain, a stain and sealer combo is the way. Apply it with a rag for that hand-rubbed, cozy feel.
For a rustic vibe, milk paint or chalk paint is perfect. They’re forgiving and beginner-friendly. If nurturing the wood is your goal, opt for natural oils like Tung or Danish.
They offer a warm, protective finish.
For more tips on refinishing your antique furniture, dive into that guide. It’s packed with practical advice and real-world examples. This journey can be rewarding, transforming tired pieces into something that’ll steal the spotlight in any room.
The Finishing Touches: Polishing Hardware and Adding Personality
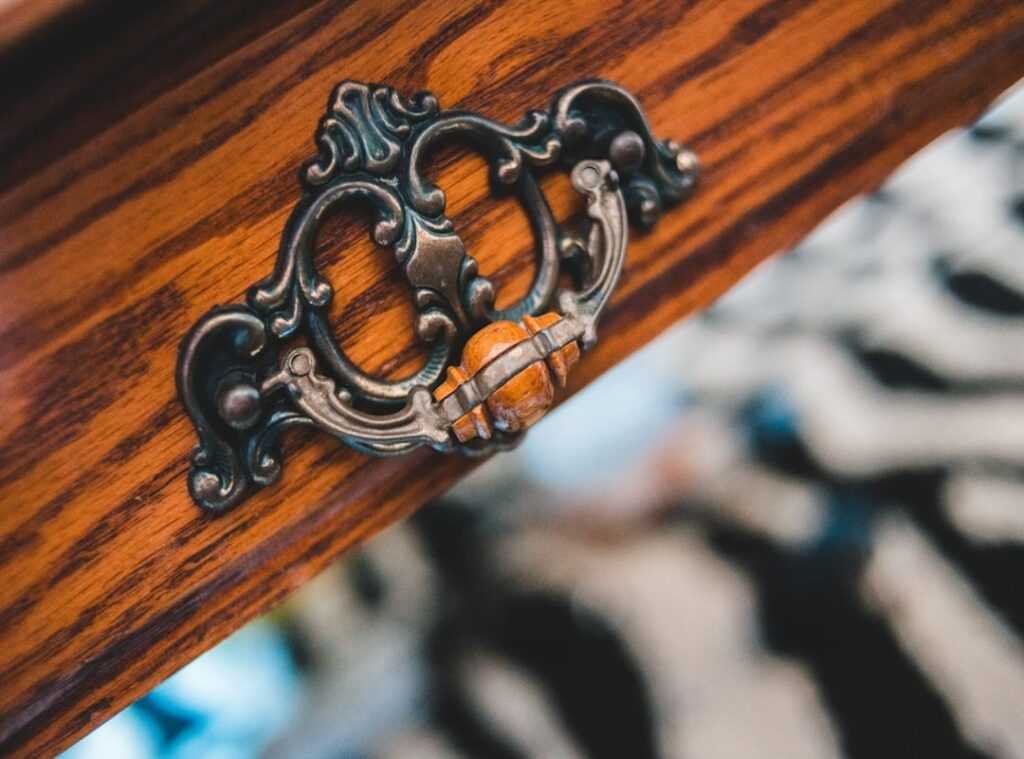
When refinishing old furniture, the hardware is the jewelry. Think about it: does your piece need a good polish or a fresh look? For the original hardware, I swear by a simple paste of lemon juice and baking soda.
It reveals brass’s true beauty. But if you’re itching for change, replacing hardware is your chance to update the whole vibe.
Antique stores or specialty online shops often have knobs and pulls that match the era perfectly. These tiny details? They pack a punch.
They can transform your furniture from dull to dazzling. Don’t overlook them.
Your Next Adventure: Unearth a Story
Fear of starting that first project? I get it. But diving into refinishing old furniture is more than a fix.
It’s crafting stories. You’ve got the steps. You have the know-how.
So find that forgotten piece. Its next chapter is yours to write. Go make it happen!
 Founder & CEO
Thalira Norvessa is the kind of writer who genuinely cannot publish something without checking it twice. Maybe three times. They came to daily digest through years of hands-on work rather than theory, which means the things they writes about — Daily Digest, Wuta DIY Renovation Techniques, Lifestyle Organization Strategies, among other areas — are things they has actually tested, questioned, and revised opinions on more than once.
That shows in the work. Thalira's pieces tend to go a level deeper than most. Not in a way that becomes unreadable, but in a way that makes you realize you'd been missing something important. They has a habit of finding the detail that everybody else glosses over and making it the center of the story — which sounds simple, but takes a rare combination of curiosity and patience to pull off consistently. The writing never feels rushed. It feels like someone who sat with the subject long enough to actually understand it.
Outside of specific topics, what Thalira cares about most is whether the reader walks away with something useful. Not impressed. Not entertained. Useful. That's a harder bar to clear than it sounds, and they clears it more often than not — which is why readers tend to remember Thalira's articles long after they've forgotten the headline.
Founder & CEO
Thalira Norvessa is the kind of writer who genuinely cannot publish something without checking it twice. Maybe three times. They came to daily digest through years of hands-on work rather than theory, which means the things they writes about — Daily Digest, Wuta DIY Renovation Techniques, Lifestyle Organization Strategies, among other areas — are things they has actually tested, questioned, and revised opinions on more than once.
That shows in the work. Thalira's pieces tend to go a level deeper than most. Not in a way that becomes unreadable, but in a way that makes you realize you'd been missing something important. They has a habit of finding the detail that everybody else glosses over and making it the center of the story — which sounds simple, but takes a rare combination of curiosity and patience to pull off consistently. The writing never feels rushed. It feels like someone who sat with the subject long enough to actually understand it.
Outside of specific topics, what Thalira cares about most is whether the reader walks away with something useful. Not impressed. Not entertained. Useful. That's a harder bar to clear than it sounds, and they clears it more often than not — which is why readers tend to remember Thalira's articles long after they've forgotten the headline.