Looking to build accent wall in your home but not sure where to start? You’re likely searching for clear, practical guidance that turns inspiration into action—without costly mistakes or overwhelming design jargon. Whether you want to add depth to a small room, create a focal point in your living space, or experiment with texture and color, this article walks you through exactly what you need to know.
We’ve carefully analyzed proven DIY methods, current interior design trends, and common homeowner pitfalls to give you straightforward, reliable advice. From choosing the right materials and layout to planning, measuring, and finishing with confidence, you’ll get actionable steps that make the process manageable—even if you’re new to home projects.
By the end, you’ll understand how to plan, design, and successfully build accent wall features that elevate your space while staying within budget and skill level.
Beyond Flat Paint: Why a Textured Wall is Your Next DIY Project
Staring at plain, lifeless wall can feel like watching paint dry (because, well, it is). You want character, not cookie-cutter beige. The good news? You can build accent wall drama without gutting your space.
A textured wall—meaning a surface intentionally layered with plaster, joint compound, or wood slats to create depth—adds dimension. Think less apartment rental, more HGTV reveal.
Some say texture is messy or outdated. Fair. It can be, if rushed. But with right tools and patience, you get a focal point that hides imperfections and sparks compliments daily.
Find Your Perfect Finish: Exploring Top Textured Wall Designs
Blank walls can feel… uninspired. You paint them, step back, and somehow the room still feels flat (like it’s waiting for permission to have a personality). If you’re tired of repainting the same beige every two years, textured finishes might be your upgrade.
Subtle & Earthy: Limewash & Roman Clay
If you love calm, organic spaces but hate walls that look sterile, limewash and Roman clay offer a soft, matte, slightly mottled finish. That gentle variation—meaning subtle tonal movement across the surface—adds depth without shouting for attention. They’re perfect for minimalist, Japandi (a blend of Japanese and Scandinavian design), and Mediterranean interiors. Bonus: both are breathable, eco-friendly materials that help regulate moisture. No gloss, no glare—just quiet texture.
Modern & Sculptural: Venetian Plaster
Venetian plaster delivers that polished, marble-like finish with layered depth. It reflects light in a way flat paint simply can’t. Yes, it requires skill (this isn’t a casual weekend DIY), but the payoff is pure luxury. If you want drama without clutter, this is how you build accent wall moments that feel high-end rather than trendy.
Warm & Geometric: Wood Slat Walls
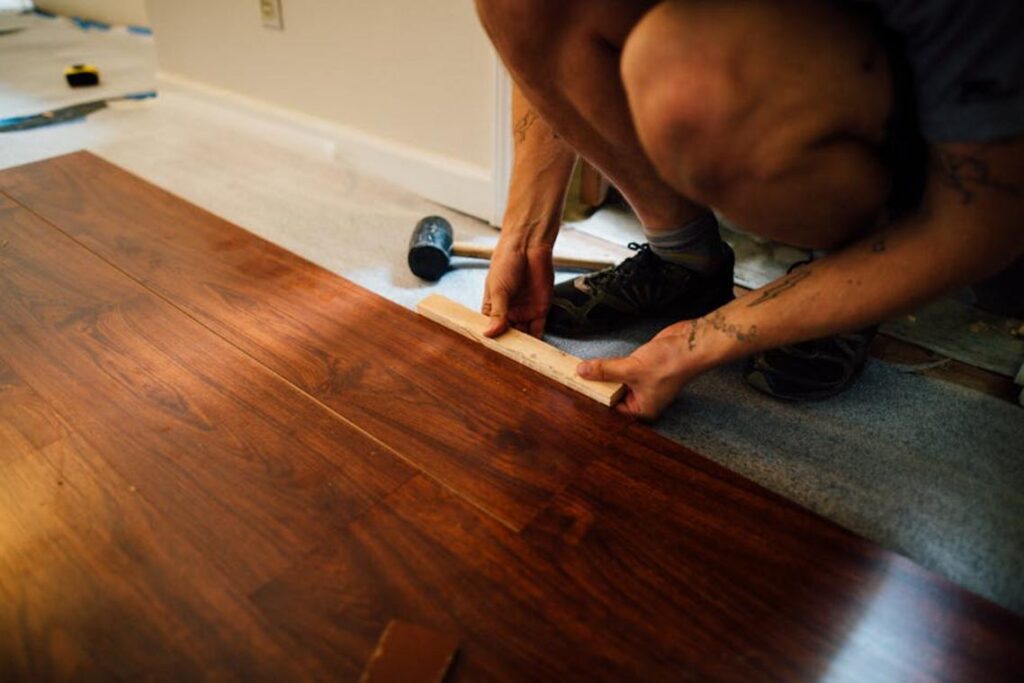
Vertical wood slats create clean, architectural lines while adding warmth. They also improve acoustics by diffusing sound—goodbye echoey living room. Ideal for modern and mid-century modern spaces, they balance structure with comfort.
- Adds dimension instantly
- Softens noise
- Brings natural warmth
Industrial & Raw: Concrete Skim Coat
Microcement or concrete overlays give you that sleek, industrial edge. The slight imperfections? That’s the charm. Durable and contemporary, it’s a go-to for lofts and modern homes craving character without fuss.
Your Project Blueprint: Essential Tools and Materials
Last spring, I started to build accent wall and realized halfway through I was missing painter’s tape (classic rookie move). Since then, I never skip the universal prep tools: painter’s tape for edges, drop cloths to protect floors, spackle (a paste used to fill holes), a putty knife, medium and fine-grit sandpaper, primer, and cleaning supplies like rags and TSP or soap.
From there, your tools shift. For Limewash or Roman Clay—mineral-based finishes that create texture—you’ll need a block brush, flexible steel trowel, and mixing buckets. Venetian plaster, a polished decorative coating, calls for stainless steel trowels and a hawk. Wood slats require a miter saw, level, construction adhesive, brad nailer, slats, and stain or sealant. For concrete skim coat (a cement layer), grab a trowel, drill mixing paddle, and buckets.
Before tackling tile, review bathroom tile installation tips for diy renovators.
Step-by-Step to a Stunning Wall: The Application Process
A beautiful wall finish doesn’t start with the brush—it starts with the prep. If you want results that look intentional (not accidental), follow these four phases carefully.
Phase 1: The Perfect Canvas (Wall Preparation)
This is the most critical step. Skip it, and even premium materials won’t save you.
First, clean the wall thoroughly. Dust, grease, and residue prevent proper adhesion (yes, even invisible grime). Use mild soap and water, then let it dry completely.
Next, fill holes and cracks with spackle—a paste used to repair minor wall damage. Apply with a putty knife, let it dry, then sand smooth until flush with the wall. Run your hand across the surface; if you feel bumps now, you’ll see them later.
Finally, apply a quality primer suited to your finish. Primer is a base coat that improves paint adhesion and color accuracy. For limewash or plaster, choose a mineral-based or high-grip primer.
Pro tip: Tint your primer slightly toward your final color to improve depth and coverage.
Phase 2: The First Coat (Building the Foundation)
Using limewash as an example, start with a damp (not dripping) brush. Apply the first coat using random, cross-hatch strokes—an overlapping “X” pattern. This creates natural variation and movement.
Work in small sections and maintain a wet edge to avoid visible lines. The first coat may look uneven. That’s normal. Think of it as the sketch before the masterpiece.
If using plaster instead, apply a thin, even skim coat with a trowel. Keep consistent pressure and angle to prevent ridges.
Phase 3: Building Depth (The Second Coat)
A second coat builds texture and color richness. Without it, the finish can look flat.
For limewash, vary your brush pressure slightly and soften harsh lines with light, sweeping motions. For plaster, use broader trowel movements to introduce subtle movement.
This is where your wall begins to feel dimensional—perfect if you’re aiming to build accent wall that feels custom rather than cookie-cutter.
Phase 4: The Finish (Sealing and Curing)
Some finishes need sealing. Limewash often doesn’t, but plaster or concrete typically require a breathable sealer to protect against moisture and scuffs.
Allow proper cure time—usually 24 to 48 hours before light contact. Wait several days before moving furniture back.
Patience here pays off. A rushed finish is noticeable. A cured one? Timeless.
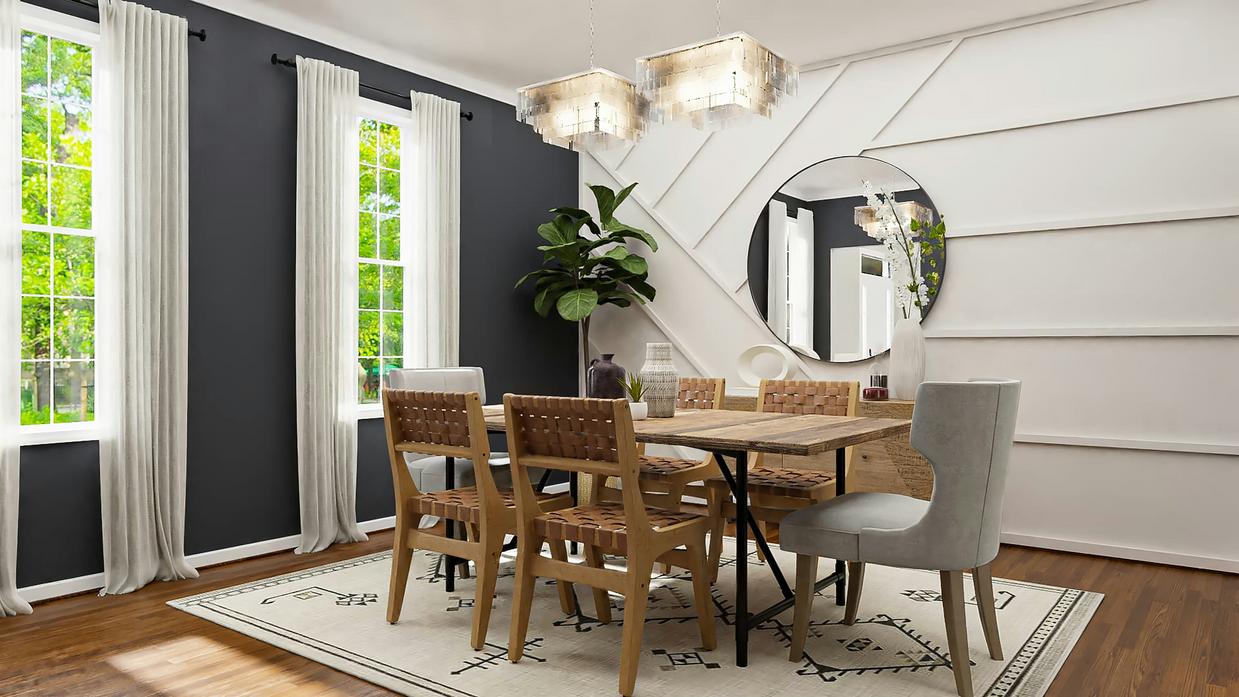
Finally, lighting is key. Use directional fixtures—picture lights or track heads—to graze texture and create depth. After you build accent wall, resist overdecorating; one bold artwork or mirror shines. Unlike most guides, consider dust behavior: lightly dust weekly, damp microfiber monthly (think museum care, not sitcom chaos) for lasting texture.
Your Home, Reimagined: The Impact of a Single Wall
Now that you have the roadmap, that blank wall is no longer wasted space. Instead of settling for flat paint, consider what competitors rarely mention: 1) acoustic panels that soften echo in open layouts, 2) hidden cable channels for seamless media setups, and 3) layered lighting to shift mood from workday to movie night.
Meanwhile, skeptics argue DIY upgrades look amateur. Fair point—if you skip prep. However, when you measure twice, level and sample finishes, results rival installs (yes, really).
So go ahead, build accent wall with intention, transform your space.
Ready to Transform Your Space?
You wanted a simple, achievable way to refresh your room without a full renovation — and now you know exactly how to build accent wall features that add depth, character, and personality to any space.
Blank walls can make a home feel flat and uninspired. The right design, materials, and layout instantly solve that problem, giving your room a focal point that feels intentional and elevated — without draining your budget.
Now it’s your move.
Choose your wall, gather your tools, and start planning your design today. If you want step-by-step guides, smart DIY hacks, and proven home solutions that make projects easier (and look professionally done), explore our expert tips and start upgrading your space with confidence.
Your home shouldn’t feel ordinary. Take action now and create a space that truly stands out.
 DIY & Smart Living Specialist
Alico Erbyons has opinions about smart living hacks. Informed ones, backed by real experience — but opinions nonetheless, and they doesn't try to disguise them as neutral observation. They thinks a lot of what gets written about Smart Living Hacks, Knowledge Corner, Lifestyle Organization Strategies is either too cautious to be useful or too confident to be credible, and they's work tends to sit deliberately in the space between those two failure modes.
Reading Alico's pieces, you get the sense of someone who has thought about this stuff seriously and arrived at actual conclusions — not just collected a range of perspectives and declined to pick one. That can be uncomfortable when they lands on something you disagree with. It's also why the writing is worth engaging with. Alico isn't interested in telling people what they want to hear. They is interested in telling them what they actually thinks, with enough reasoning behind it that you can push back if you want to. That kind of intellectual honesty is rarer than it should be.
What Alico is best at is the moment when a familiar topic reveals something unexpected — when the conventional wisdom turns out to be slightly off, or when a small shift in framing changes everything. They finds those moments consistently, which is why they's work tends to generate real discussion rather than just passive agreement.
DIY & Smart Living Specialist
Alico Erbyons has opinions about smart living hacks. Informed ones, backed by real experience — but opinions nonetheless, and they doesn't try to disguise them as neutral observation. They thinks a lot of what gets written about Smart Living Hacks, Knowledge Corner, Lifestyle Organization Strategies is either too cautious to be useful or too confident to be credible, and they's work tends to sit deliberately in the space between those two failure modes.
Reading Alico's pieces, you get the sense of someone who has thought about this stuff seriously and arrived at actual conclusions — not just collected a range of perspectives and declined to pick one. That can be uncomfortable when they lands on something you disagree with. It's also why the writing is worth engaging with. Alico isn't interested in telling people what they want to hear. They is interested in telling them what they actually thinks, with enough reasoning behind it that you can push back if you want to. That kind of intellectual honesty is rarer than it should be.
What Alico is best at is the moment when a familiar topic reveals something unexpected — when the conventional wisdom turns out to be slightly off, or when a small shift in framing changes everything. They finds those moments consistently, which is why they's work tends to generate real discussion rather than just passive agreement.