Planning a bathroom tile installation can feel overwhelming, especially when one small mistake can lead to leaks, uneven surfaces, or cracked tiles that cost time and money to repair. This step-by-step guide breaks the entire process down into clear, manageable stages—from careful demolition and surface prep to precise tile placement and final sealing. You’ll learn the critical details that separate a rushed DIY job from a clean, professional-looking finish. Built on years of hands-on renovation experience, this blueprint gives you the confidence, practical steps, and insider tips you need to achieve a durable, polished bathroom result.
Phase 1: Preparing Your Bathroom for a Perfect Finish
The Foundation Rule: 90% of a great tile job happens before the first tile is set. Some DIYers argue that careful tile placement matters more than prep. But even perfectly aligned tiles will fail if the surface underneath shifts, cracks, or absorbs moisture. Preparation isn’t glamorous (no one posts a viral video of subfloor inspection), yet it determines whether your bathroom tile installation lasts five months or fifteen years.
-
Ensure Surface Integrity
Start with a clean, dry, structurally sound substrate. Remove old adhesive, loose paint, dust, and debris. According to the Tile Council of North America (TCNA), improper substrate prep is a leading cause of tile failure. Skipping this step to “save time” often leads to cracked grout and loose tiles. -
Create a Level Plane
Use a 4-foot level to identify dips and high spots. Apply self-leveling compound on floors or patching compound on walls. Some say minor unevenness won’t matter. It will. Tiles mirror the surface beneath them—imperfections included. -
Apply Critical Waterproofing
In wet zones, install a liquid or sheet membrane. The EPA notes moisture control is essential to prevent mold growth. Think of waterproofing as insurance (the kind you hope you never need). Pro tip: Let membranes fully cure before tiling.
Phase 2: Choosing the Right Materials and Tools
First things first, let’s talk tile. Porcelain and ceramic aren’t twins (even if they look alike on the shelf). Porcelain is fired at higher temperatures, which means it has a lower water absorption rate—in plain English, it soaks up less moisture. That’s why I always lean toward porcelain for wet areas. In my opinion, it’s simply the safer bet for bathroom tile installation. Some argue ceramic is more budget-friendly and easier to cut—and that’s fair—but I’d rather wrestle with a tougher tile than deal with moisture issues later.
Next, gather your tools before you even open the mortar. You’ll need a wet saw or tile snapper, a notched trowel (matched to tile size), a level, spacers, a rubber mallet, buckets, and sponges. Preparation saves headaches.
As for adhesive, use polymer-modified thin-set mortar. Choose unsanded grout for joints 1/8 inch or smaller, sanded for wider gaps. Pro tip: epoxy grout resists stains and mold like a champ.
Phase 3: The Blueprint for Success: Layout and Dry-Fitting

The first time I tackled bathroom tile installation, I made the classic rookie mistake—I started in the corner. It felt logical at the time (corners feel safe, right?). But by the time I reached the opposite wall, I was stuck with a thin, awkward sliver of tile that screamed “DIY.” Lesson learned.
So instead, start from the center of the most prominent wall or the center of the floor. In tile-speak, a reference line is a marked guide that keeps everything straight. Measure carefully, find the midpoint, and snap perpendicular chalk lines to create a grid. This grid becomes your roadmap.
Next, dry-fit a few rows using spacers but no mortar. Dry-fitting simply means laying tiles in place without adhesive to preview spacing and cuts. As a result, you’ll spot potential issues early.
Meanwhile, if you’re upgrading the whole space, consider learning how to upgrade your lighting fixtures safely before sealing everything up.
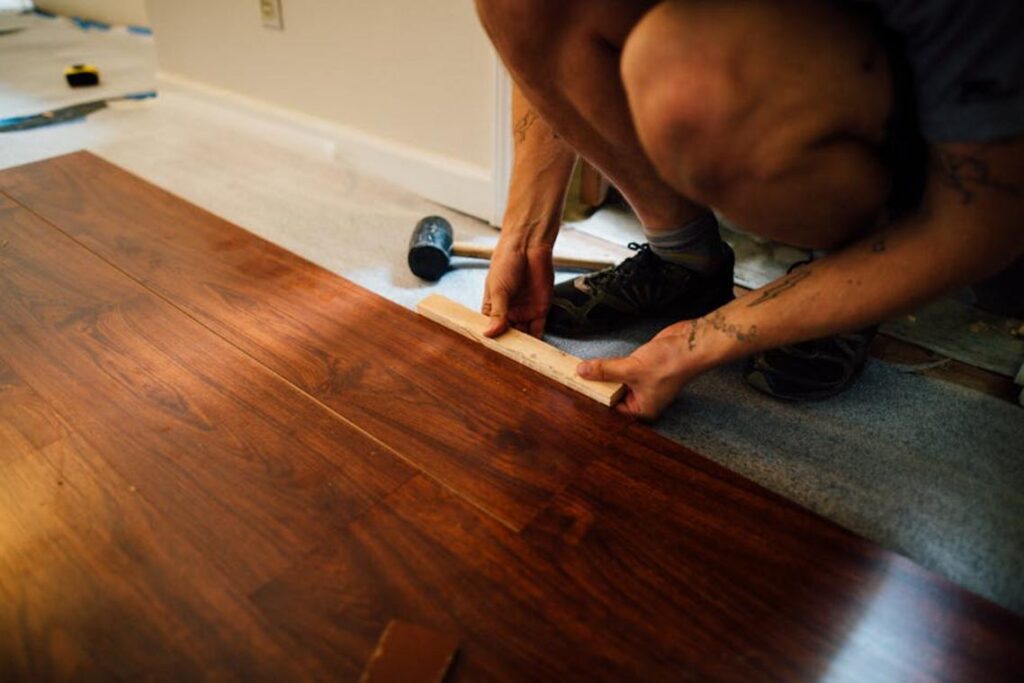
Phase 4: The Installation Process: Setting Your Tiles*
This is the moment where planning turns into progress. As one contractor once told me, “Tile doesn’t forgive rushing.” He wasn’t wrong.
-
Mixing Mortar: Combine thin-set mortar to a smooth, peanut-butter-like consistency. (If it looks like pancake batter, you’ve gone too far.) Let it slake—meaning rest so the chemicals fully activate—for 5–10 minutes, then remix. This hydration process improves bond strength, according to Tile Council of North America guidelines.
-
Application Technique: Use the flat side of your trowel to key in the mortar (that’s pressing it firmly into the substrate), then comb with the notched side at a consistent 45-degree angle. Those ridges aren’t decorative—they collapse under pressure to create proper adhesion.
-
Setting and Leveling: Press the first tile along your guideline with a slight twist. “Feel it grab,” a DIYer once said during her first bathroom tile installation. Add spacers, place the next tile, and check with a level across multiple tiles. Tap high spots gently with a rubber mallet.
-
Clean as You Go: Keep water and a sponge nearby. Mortar haze dries fast (and scraping it later feels like a villain origin story).
Phase 5: Grouting and Sealing: The Final Touches
Patience matters. Wait 24–48 hours for mortar to cure (check the bag—manufacturers vary). Rushing this step in bathroom tile installation can loosen tiles later. Trust the clock.
Load a grout float and press grout into joints at a 45-degree angle. Move diagonally to pack gaps completely. Pro tip: work small sections so cleanup stays manageable.
After 15–30 minutes, wipe with a damp—not dripping—sponge. Rinse often. A light haze is normal; buff it off with a dry cloth once cured.
Finally, seal grout after several days to block stains and moisture damage.
You started this journey wanting clarity and confidence around your bathroom tile installation—and now you have a clear, step-by-step framework to make it happen. What once felt like a costly mistake waiting to happen is now a manageable, well-planned project you can execute with precision.
By focusing on preparation, smart layout, and clean finishing techniques, you’ve set yourself up for a waterproof, durable, and polished result that will stand the test of time.
Step Back and Enjoy the View
Take pride in the space you’ve created. If you’re ready to tackle your next home upgrade without second-guessing every step, explore more of our proven DIY guides—trusted by thousands of hands-on homeowners. Don’t let fear stall your progress. Start your next project with confidence today.
 Head of Content & Lifestyle Strategist
Ask Williamen Glaseroller how they got into home solutions and fixes and you'll probably get a longer answer than you expected. The short version: Williamen started doing it, got genuinely hooked, and at some point realized they had accumulated enough hard-won knowledge that it would be a waste not to share it. So they started writing.
What makes Williamen worth reading is that they skips the obvious stuff. Nobody needs another surface-level take on Home Solutions and Fixes, Smart Living Hacks, Lifestyle Organization Strategies. What readers actually want is the nuance — the part that only becomes clear after you've made a few mistakes and figured out why. That's the territory Williamen operates in. The writing is direct, occasionally blunt, and always built around what's actually true rather than what sounds good in an article. They has little patience for filler, which means they's pieces tend to be denser with real information than the average post on the same subject.
Williamen doesn't write to impress anyone. They writes because they has things to say that they genuinely thinks people should hear. That motivation — basic as it sounds — produces something noticeably different from content written for clicks or word count. Readers pick up on it. The comments on Williamen's work tend to reflect that.
Head of Content & Lifestyle Strategist
Ask Williamen Glaseroller how they got into home solutions and fixes and you'll probably get a longer answer than you expected. The short version: Williamen started doing it, got genuinely hooked, and at some point realized they had accumulated enough hard-won knowledge that it would be a waste not to share it. So they started writing.
What makes Williamen worth reading is that they skips the obvious stuff. Nobody needs another surface-level take on Home Solutions and Fixes, Smart Living Hacks, Lifestyle Organization Strategies. What readers actually want is the nuance — the part that only becomes clear after you've made a few mistakes and figured out why. That's the territory Williamen operates in. The writing is direct, occasionally blunt, and always built around what's actually true rather than what sounds good in an article. They has little patience for filler, which means they's pieces tend to be denser with real information than the average post on the same subject.
Williamen doesn't write to impress anyone. They writes because they has things to say that they genuinely thinks people should hear. That motivation — basic as it sounds — produces something noticeably different from content written for clicks or word count. Readers pick up on it. The comments on Williamen's work tend to reflect that.