Cracks in your walls can be more than just an eyesore—they can signal underlying structural issues, moisture problems, or natural settling that needs attention. If you’re searching for clear, practical guidance on wall crack repair, you likely want to know what’s causing the damage, whether it’s serious, and how to fix it effectively without wasting time or money. This article is designed to give you exactly that.
We break down the different types of wall cracks, what they mean, and the most reliable repair methods for each situation. From minor hairline fractures to larger structural splits, you’ll learn when a simple DIY fix is enough and when it’s time to call in a professional.
Our guidance is based on established construction best practices, building standards, and insights from experienced contractors to ensure accuracy and safety. By the end, you’ll have the clarity and confidence to approach your wall crack repair the right way.
Cracks that keep coming back are more than annoying—they signal a fix that failed. This guide delivers a permanent solution, not a cosmetic cover-up. You’ll learn to diagnose drywall, plaster, and exterior splits using a pro-level system anyone can follow.
Start here:
- Identify hairline vs. widening cracks (measure with a coin).
- Check doors and windows for sticking—possible structural shift.
- Inspect exterior walls for moisture entry.
For minor seams, apply mesh tape and compound in layered passes. For movement-related damage, widen, clean, and reinforce before patching. Smart wall crack repair means knowing when to call a structural engineer for safety concerns.
First, Diagnose the Damage: What Your Wall Cracks Are Telling You
Not every wall crack means your house is falling apart. In fact, the International Association of Certified Home Inspectors notes that most interior wall cracks are cosmetic, caused by normal settling or paint shrinkage within the first few years of a home’s life.
Hairline or Hazard?
Hairline cracks—thin, straight, and shallow—often result from paint drying or minor settling. These are common near ceilings or along drywall seams. Poor drywall taping can also leave straight, fine lines where panels meet (annoying, yes—but not structural).
Now the bigger concerns.
Diagonal cracks near doors and windows typically signal settling. If they’re thin and stable, they’re usually harmless. But LARGE, jagged, or stair-step cracks along brick or foundation walls may point to foundation movement. The Federal Housing Administration warns that cracks wider than 1/4 inch can indicate structural stress requiring evaluation.
Moisture damage is another culprit. Discoloration, bubbling paint, or soft drywall suggests water intrusion—often confirmed by mold growth studies showing damp drywall can develop mold within 24–48 hours (EPA).
Call a structural engineer if:
- Cracks exceed 1/4 inch wide
- They’re actively growing
- Doors stick or floors slope
When in doubt, document changes before attempting wall crack repair. (Houses settle. Foundations shifting? That’s another story.)
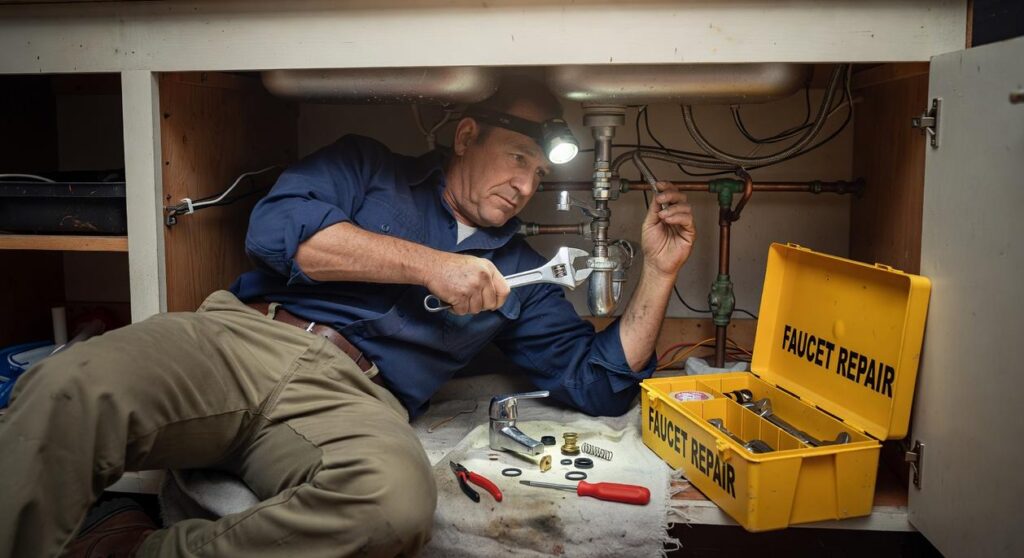
Gather Your Toolkit: The Right Supplies for a Flawless Repair
Back in 2020, during the home-improvement surge, many DIYers learned the hard way that using the wrong compound can turn a 30-minute fix into a weekend project. The right tools save time (and sanity).
Interior Wall Repair Checklist
| Tool | Purpose |
|—|—|
| Putty knife | Apply and smooth compounds |
| Utility knife | Trim loose drywall |
| Spackling compound | Small holes and hairline cracks |
| Joint compound | Larger dents or patches |
| Fiberglass mesh tape | Reinforce cracks |
| Fine-grit sandpaper | Smooth dried compound |
| Quality primer | Seal before painting |
Spackling is best for nail holes, while joint compound works better for deeper damage. (Yes, they look similar—no, they don’t behave the same.)
Exterior Wall Repair Tools
- Wire brush
- Small chisel
- Caulk gun
- Flexible, paintable masonry crack filler
For wall crack repair outdoors, elastomeric sealants flex with temperature changes—crucial in freeze-thaw climates.
Safety First: Wear safety glasses and a dust mask when sanding.
Pro tip: Let compound dry fully—usually 24 hours—before sanding.
For other fixes, see unclogging drains naturally safe and effective methods.
Your Step-by-Step Guide to Flawless Interior Wall Repairs

Cracks happen. In fact, the National Association of Home Builders notes that minor drywall cracking is one of the most common homeowner complaints in the first few years of a home’s life. The good news? A careful process makes the fix nearly invisible.
Step 1: Prepare the Crack
Use a utility knife to gently widen the crack into a small “V” shape. This creates more surface area so the compound can grip (think of it like giving the filler something to hold onto). Studies in material adhesion show roughened surfaces bond more effectively than smooth ones. Brush or vacuum out every bit of dust—leftover debris weakens adhesion and shortens the lifespan of your repair.
Step 2: Bridge and Fill
For any crack wider than a hairline, apply self-adhesive mesh tape. Contractors rely on mesh because it distributes stress across the seam, reducing the chance of re-cracking. Press the first layer of joint compound firmly through the mesh so it keys into the drywall beneath. This is the structural foundation of strong wall crack repair.
- Use a 6-inch taping knife for better control
- Apply thin, even pressure
- Remove excess compound immediately
Step 3: Layer, Feather, and Dry
Apply thin subsequent coats, extending each layer slightly beyond the last—this is called feathering. Let each coat dry completely; premature sanding can cause shrinkage cracks (a common DIY mistake).
Step 4: Sand, Prime, and Paint
Lightly sand until smooth. Always apply primer before paint to prevent flashing—that dull patch effect caused by uneven absorption. Primer ensures a uniform finish that blends seamlessly.
Conquering the Outdoors: How to Seal Exterior Cracks for Good
Step 1: Clean and Prep the Surface. Grab a wire brush and chisel and remove every bit of loose debris, flaking paint, and brittle old caulk. If the surface isn’t solid, the new sealant will fail (and you’ll be back on a ladder next weekend). I’ve learned that rushing prep is the fastest way to ruin an otherwise perfect wall crack repair.
Step 2: Select the Right Sealant. For cracks under 1/4 inch in siding or stucco, choose a flexible, paintable exterior caulk. Larger gaps in concrete or brick demand epoxy or masonry filler. In my opinion, spending a few extra dollars here saves serious frustration later.
Step 3: Apply and Tool for a Weatherproof Seal. Run a steady bead deep into the crack, then smooth it with a putty knife or damp finger. Tooling presses the material firmly in place and leaves a clean line.
Step 4: Curing and Finishing. Always check curing times before painting. Patience pays off.
I strongly believe meticulous sealing not only boosts curb appeal but also prevents moisture intrusion, mold growth, and costly structural damage down the road. Do it right the first time. Today.
From Cracked to Perfect: Maintaining Your Walls with Confidence
“It’s just a tiny crack,” my neighbor shrugged. A year later? “I wish I’d fixed it sooner.” And that’s the point. Small cracks rarely stay small. Left alone, they widen, invite moisture, and lead to costly repairs (drywall replacement isn’t cheap).
The good news, however, is simple: proper diagnosis plus the right materials makes wall crack repair last.
| Crack Type | Best Fix |
|————|———-|
| Hairline | Flexible filler |
| Settlement | Mesh tape + compound |
So, instead of waiting, pick one crack this weekend. As a contractor once told me, “Fix it right, fix it once.”
Fix the Cracks Before They Fix Your Budget
You came here because those cracks in your walls aren’t just cosmetic — they’re stressful. They make your home feel unfinished, neglected, and potentially unsafe. Now you understand what causes them, how to assess their severity, and when simple wall crack repair methods will do the job versus when deeper fixes are needed.
The good news? Most wall cracks can be handled quickly with the right approach. Taking action early prevents bigger structural issues, protects your home’s value, and saves you from costly repairs down the road.
Don’t wait for small cracks to turn into major damage. Start your wall crack repair today with the right tools and step‑by‑step method. Thousands of homeowners trust our proven home solutions and smart DIY guidance to fix problems fast and confidently.
Grab your supplies, follow the process, and restore your walls — and your peace of mind — now.
 Head of Content & Lifestyle Strategist
Ask Williamen Glaseroller how they got into home solutions and fixes and you'll probably get a longer answer than you expected. The short version: Williamen started doing it, got genuinely hooked, and at some point realized they had accumulated enough hard-won knowledge that it would be a waste not to share it. So they started writing.
What makes Williamen worth reading is that they skips the obvious stuff. Nobody needs another surface-level take on Home Solutions and Fixes, Smart Living Hacks, Lifestyle Organization Strategies. What readers actually want is the nuance — the part that only becomes clear after you've made a few mistakes and figured out why. That's the territory Williamen operates in. The writing is direct, occasionally blunt, and always built around what's actually true rather than what sounds good in an article. They has little patience for filler, which means they's pieces tend to be denser with real information than the average post on the same subject.
Williamen doesn't write to impress anyone. They writes because they has things to say that they genuinely thinks people should hear. That motivation — basic as it sounds — produces something noticeably different from content written for clicks or word count. Readers pick up on it. The comments on Williamen's work tend to reflect that.
Head of Content & Lifestyle Strategist
Ask Williamen Glaseroller how they got into home solutions and fixes and you'll probably get a longer answer than you expected. The short version: Williamen started doing it, got genuinely hooked, and at some point realized they had accumulated enough hard-won knowledge that it would be a waste not to share it. So they started writing.
What makes Williamen worth reading is that they skips the obvious stuff. Nobody needs another surface-level take on Home Solutions and Fixes, Smart Living Hacks, Lifestyle Organization Strategies. What readers actually want is the nuance — the part that only becomes clear after you've made a few mistakes and figured out why. That's the territory Williamen operates in. The writing is direct, occasionally blunt, and always built around what's actually true rather than what sounds good in an article. They has little patience for filler, which means they's pieces tend to be denser with real information than the average post on the same subject.
Williamen doesn't write to impress anyone. They writes because they has things to say that they genuinely thinks people should hear. That motivation — basic as it sounds — produces something noticeably different from content written for clicks or word count. Readers pick up on it. The comments on Williamen's work tend to reflect that.