If you’re searching for the best way to paint kitchen cabinets, you’re likely looking for a cost-effective way to transform your kitchen without committing to a full renovation. A fresh coat of paint can completely change the look and feel of your space—but only if it’s done the right way. From choosing the right materials to prepping surfaces properly and applying smooth, durable coats, the details make all the difference.
This guide is designed to walk you through each step with clarity and practical insight, helping you avoid common mistakes that lead to peeling, streaking, or uneven finishes. We’ve analyzed proven DIY techniques, current home improvement best practices, and real-world application tips to ensure you get long-lasting, professional-looking results. Whether you’re refreshing outdated cabinets or aiming for a modern upgrade, you’ll find straightforward, reliable advice to help you get it done with confidence.
A Budget-Friendly Cabinet Makeover Guide
A full remodel can cost thousands, but you can paint kitchen cabinets and achieve a dramatic upgrade for a fraction of the price. Preparation is everything. Remove doors, label hardware, and degrease surfaces with a strong cleaner to eliminate buildup.
Lightly sand to create tooth (a slightly rough surface that helps paint adhere), then apply a high-quality bonding primer. Skip this step and peeling is almost guaranteed.
- Use thin, even coats with a foam roller to avoid brush marks.
Allow proper drying time between coats. Pro tip: cure cabinets for days before rehanging doors.
Why Paint Is the Ultimate Kitchen Upgrade
If you want a high-end kitchen without the high-end bill, paint is your secret weapon. Materials typically run $200–$600, while refacing or replacing cabinets can exceed $5,000 (HomeAdvisor). That’s thousands saved—money you can invest elsewhere (hello, dream appliances).
When you paint kitchen cabinets, you unlock unlimited customization. Unlike stock cabinetry, you can choose anything from soft modern greige to bold navy for a designer feel. The result? A space that reflects your style instead of the showroom’s.
Freshly painted cabinets also boost perceived home value. According to Zillow, kitchens heavily influence buyer decisions. A modern, refreshed kitchen signals care and quality.
Yes, it’s labor-intensive and requires patience. But the payoff is dramatic: a transformation that looks brand-new—without the renovation chaos.
The Foundation: Flawless Prep Work for a Lasting Finish
Before you even open a paint can, pause. The real secret to a smooth, durable finish isn’t the color—it’s the prep. (Yes, the part everyone wants to skip.) If you plan to paint kitchen cabinets, this groundwork determines whether your results last five months or fifteen years.
Step 1: Deconstruct and Label
First, remove all doors, drawers, and hardware. Every hinge. Every handle. It might feel excessive, but painting around hardware is like cutting bangs in the dark—regret is inevitable. Use masking tape and a simple numbering system to label each piece and its matching cabinet box. This ensures everything goes back exactly where it belongs. Some argue you can “eyeball it” during reassembly. You can—but alignment gaps will quickly prove otherwise.
Step 2: The Ultimate Clean
Next, degrease thoroughly using a TSP substitute (trisodium phosphate alternative) or a heavy-duty degreaser. Kitchens accumulate invisible grime that blocks paint adhesion (adhesion means how well paint sticks to a surface). Skipping this step is the fastest way to peeling. Even if cabinets look clean, they’re not. Pro tip: change your cleaning water often to avoid redistributing grease.
Step 3: Strategic Sanding
Now, sand with 120-grit sandpaper. The goal isn’t stripping—it’s scuffing. “Scuffing” creates microscopic scratches that help primer grip. Wipe everything down with a tack cloth (a sticky fabric designed to grab dust). Some DIYers skip sanding if using “no-sand” primers. While tempting, light sanding still improves long-term durability.
Step 4: Masking for Clean Lines
Finally, tape off walls, countertops, backsplashes, and appliances carefully. Press edges firmly to prevent bleed-through. Clean lines are what separate DIY from “Who painted this?”
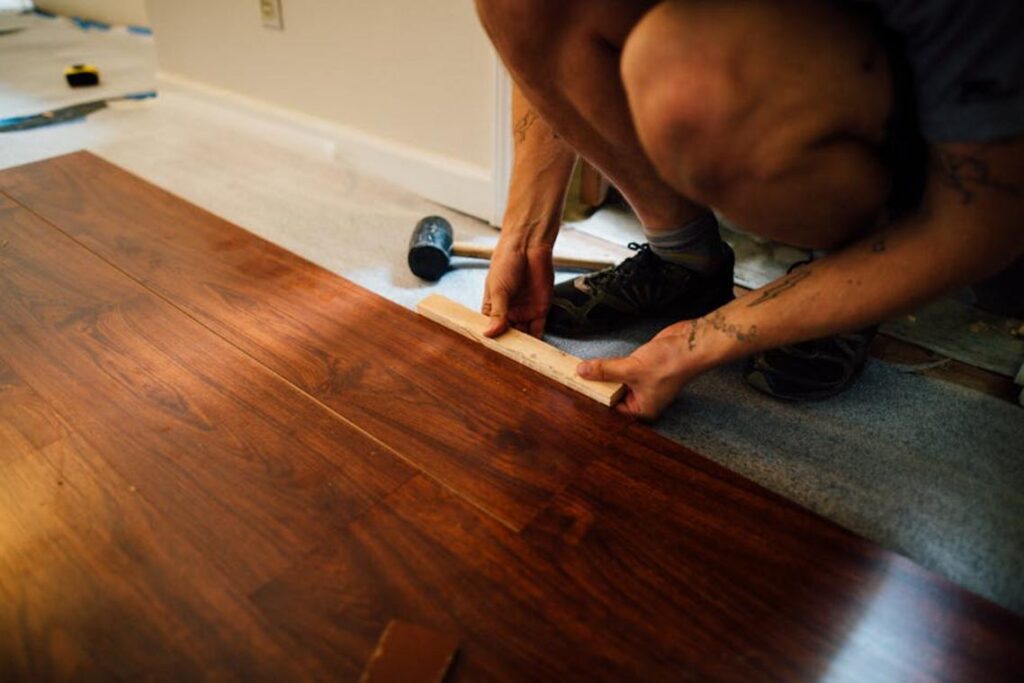
Once prep is complete, you might wonder what comes next—primer choice, drying times, or brush vs. sprayer decisions. If you’re tackling other upgrades too, check out this guide on the step by step process for tiling a bathroom wall. Preparation principles carry over more than you’d think.
Your Shopping List: Choosing the Right Primer and Paint
The Primer Imperative
First things first: primer is not optional. A high-quality, stain-blocking bonding primer is the backbone of any cabinet job. “Bonding” means it chemically grips slick surfaces like laminate or previously sealed wood. “Stain-blocking” prevents tannins—natural compounds in woods like oak and cherry—from bleeding through your fresh coat (those yellow-brown streaks are not a design choice). In humid regions or older homes with heavy grain cabinetry, skipping primer is practically asking for callbacks. Some DIYers argue modern paints have primer built in. Fair—but when you paint kitchen cabinets, adhesion and durability matter more than saving an hour.
Paint Type Breakdown
Next, choose your fighter.
Alkyd Urethane Enamel delivers that hard, factory-like finish you see in custom shop installs. It levels beautifully (meaning brush strokes settle out), but dries slowly and requires mineral spirits for cleanup.
Water-Based Acrylic Enamel has low odor, fast dry times, and soap-and-water cleanup. Today’s formulas rival oil-based durability, especially for high-traffic kitchens.
Sheen Selection
Finally, sheen. Satin offers a soft glow and hides minor dings. Semi-gloss is tougher and easier to wipe down after spaghetti night. Skip matte (too hard to clean) and high-gloss (it highlights every flaw—like stage lighting for your cabinets). Pro tip: test sheen on a spare door before committing.
Application Mastery: The Step-by-Step Painting Process
First, let’s talk primer. Applying one to two thin coats creates a bonding layer that helps paint adhere and last longer. Primer is a preparatory coating designed to seal surfaces and improve durability. Use a high-quality angled brush for corners and detailed edges, then switch to a mini foam roller for flat panels to minimize texture. This small tool choice is often overlooked, yet it’s the difference between a factory-smooth finish and subtle roller marks competitors rarely address.
Next comes color. When you paint kitchen cabinets, resist the urge to lay it on thick. Two to three thin coats outperform one heavy coat every time. Start with the backs of the doors and let them dry completely before flipping to paint the fronts. Meanwhile, work on the cabinet boxes to maximize efficiency. This staggered workflow reduces downtime and dust exposure (and keeps your momentum going).
Equally important is patience. Respect the dry times listed on the can. Rushing leads to tacky, easily damaged surfaces.
Finally, understand curing. “Dry to the touch” happens in hours; “fully cured” can take days or weeks. During curing, treat surfaces gently to prevent dings and scratches.
The Final Reveal and Long-Term Care
Reassembly is the grand finale—the moment you reattach doors, slide drawers back in, and see your vision snap into place (cue the home makeover montage music). When you paint kitchen cabinets, this step feels less like maintenance and more like a reveal party.
You did this. You saved thousands compared to a full remodel and boosted your home’s value.
To protect your work:
- Clean with mild soap and water.
- Avoid abrasive pads.
- Store leftover paint for touch-ups.
Speculation: As DIY upgrades rise, refreshed kitchens may become buyers’ baseline expectation. So why wait? With patience and prep, this transformation is absolutely within reach.
Ready to Transform Your Kitchen Without the Stress
You came here wondering if it’s really possible to paint kitchen cabinets and get a smooth, durable, professional-looking finish. Now you know it is. With the right prep, the right materials, and a clear step-by-step plan, you can completely refresh your kitchen without the cost of a full renovation.
Outdated cabinets can make your entire space feel tired and uninspiring. Replacing them is expensive. Living with them is frustrating. Painting them the right way gives you the modern, clean look you want—without draining your savings.
Here’s your next move: gather your supplies, follow the proven prep process, and start with one test door this week. Thousands of DIYers are upgrading their kitchens successfully with these same techniques. You can too.
Stop staring at cabinets you don’t love. Take action, start the transformation, and finally enjoy a kitchen that feels brand new.
 Head of Content & Lifestyle Strategist
Ask Williamen Glaseroller how they got into home solutions and fixes and you'll probably get a longer answer than you expected. The short version: Williamen started doing it, got genuinely hooked, and at some point realized they had accumulated enough hard-won knowledge that it would be a waste not to share it. So they started writing.
What makes Williamen worth reading is that they skips the obvious stuff. Nobody needs another surface-level take on Home Solutions and Fixes, Smart Living Hacks, Lifestyle Organization Strategies. What readers actually want is the nuance — the part that only becomes clear after you've made a few mistakes and figured out why. That's the territory Williamen operates in. The writing is direct, occasionally blunt, and always built around what's actually true rather than what sounds good in an article. They has little patience for filler, which means they's pieces tend to be denser with real information than the average post on the same subject.
Williamen doesn't write to impress anyone. They writes because they has things to say that they genuinely thinks people should hear. That motivation — basic as it sounds — produces something noticeably different from content written for clicks or word count. Readers pick up on it. The comments on Williamen's work tend to reflect that.
Head of Content & Lifestyle Strategist
Ask Williamen Glaseroller how they got into home solutions and fixes and you'll probably get a longer answer than you expected. The short version: Williamen started doing it, got genuinely hooked, and at some point realized they had accumulated enough hard-won knowledge that it would be a waste not to share it. So they started writing.
What makes Williamen worth reading is that they skips the obvious stuff. Nobody needs another surface-level take on Home Solutions and Fixes, Smart Living Hacks, Lifestyle Organization Strategies. What readers actually want is the nuance — the part that only becomes clear after you've made a few mistakes and figured out why. That's the territory Williamen operates in. The writing is direct, occasionally blunt, and always built around what's actually true rather than what sounds good in an article. They has little patience for filler, which means they's pieces tend to be denser with real information than the average post on the same subject.
Williamen doesn't write to impress anyone. They writes because they has things to say that they genuinely thinks people should hear. That motivation — basic as it sounds — produces something noticeably different from content written for clicks or word count. Readers pick up on it. The comments on Williamen's work tend to reflect that.