If you’re searching for how to fix leaky faucet problems quickly and correctly, you’re likely dealing with the constant drip, wasted water, and rising utility bills that come with it. The good news? Most leaky faucets can be repaired with simple tools, clear guidance, and a little patience—no professional plumber required.
This article is designed to walk you through the exact steps to identify the cause of the leak, choose the right replacement parts, and complete the repair with confidence. Whether it’s a worn-out washer, a faulty cartridge, or loose components, you’ll learn how to diagnose the issue and fix it efficiently.
We’ve based this guide on proven home repair practices, practical DIY experience, and commonly recommended plumbing standards to ensure accuracy and reliability. By the end, you’ll not only stop the drip but also gain the confidence to handle similar household fixes in the future.
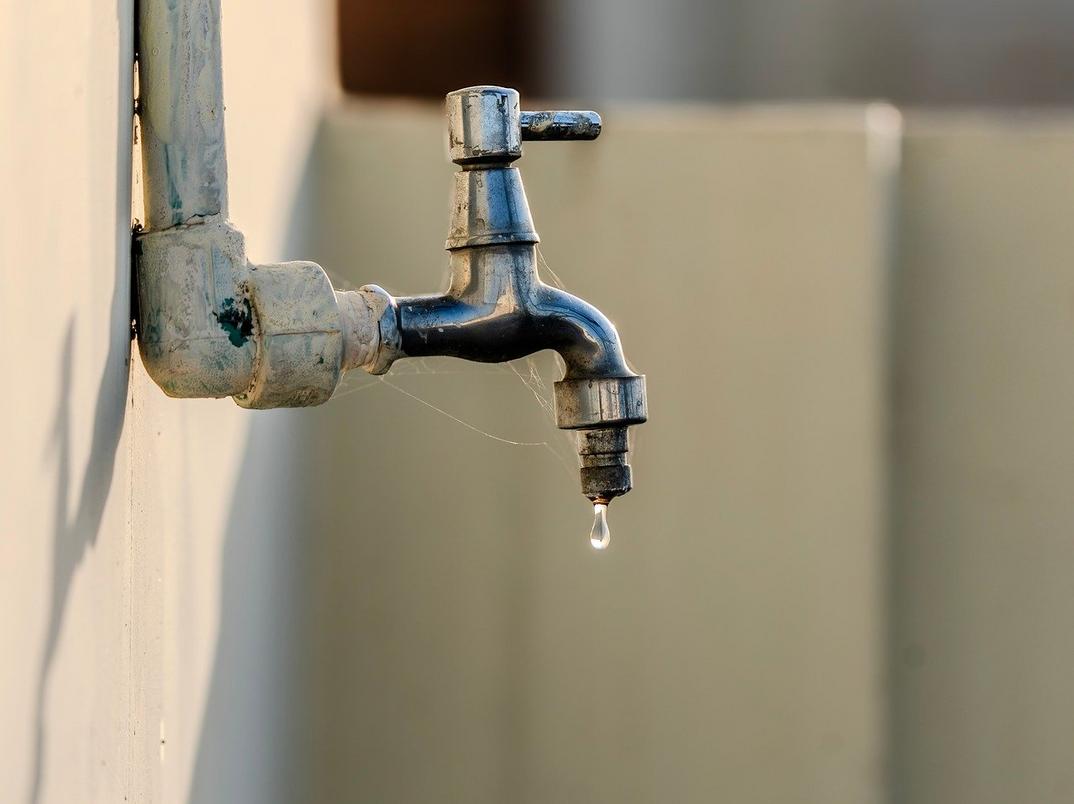
That constant drip, drip, drip echoing through the kitchen at night isn’t just irritating—it’s money slipping down the drain. Beyond the sharp sound, there’s the faint metallic scent of standing water and the slow ripple in the sink that signals waste. Fortunately, this guide will show you how to fix leaky faucet problems step by step, even if you’ve never held a wrench before. First, you’ll identify the source. Then, you’ll gather a few basic tools. Finally, with a little patience, you’ll complete one of the most satisfying DIY repairs around. All it takes is focus and care. Start today.
Preparation is Key: Tools, Diagnosis, and Safety
Gather Your Drip-Busting Toolkit
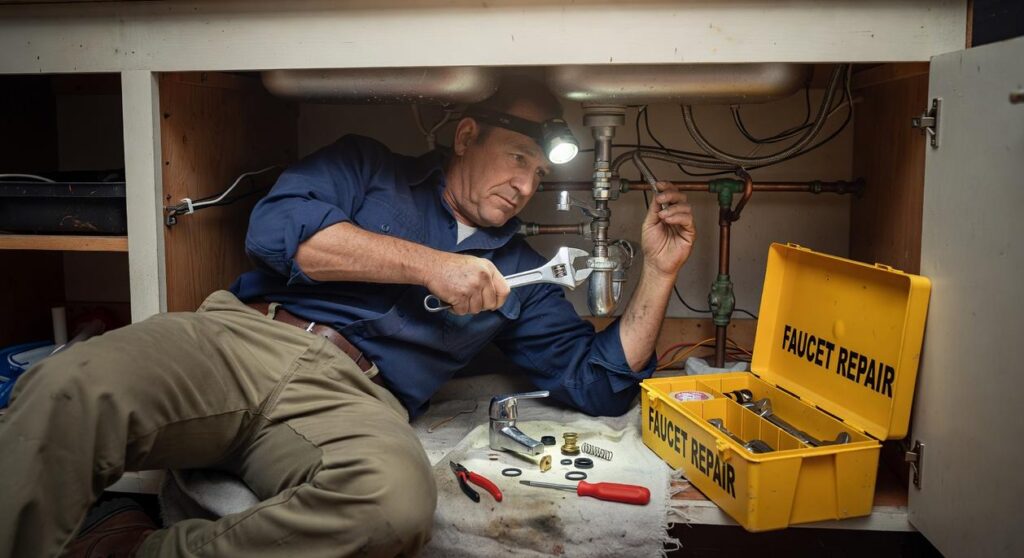
Few things are more irritating than that relentless drip at 2 a.m. (It’s like your faucet is auditioning for a percussion band.) Before you attempt to fix leaky faucet issues, gather:
- Adjustable wrench
- Slip-joint pliers
- Phillips and flat-head screwdrivers
- Utility knife
- Rag or small towel
- Small bowl to hold parts
These basics prevent the classic frustration of dismantling everything—then realizing you’re missing one tool.
Find the Culprit
A “culprit” simply means the exact source of the leak. If water drips from the spout, the washer (a rubber seal that blocks water flow) or cartridge (the internal valve controlling flow) is likely worn. If water pools at the handle’s base, the O-ring (a circular rubber gasket that seals gaps) is often to blame. Misdiagnosing the issue is how small repairs turn into all-day ordeals.
The Most Important First Step
Turn off the water supply. Mandatory. No exceptions.
Look under the sink for local shutoff valves (also called stopcocks) and twist them clockwise. No valves? Shut off your home’s main water supply. Skipping this step is how “quick fixes” become indoor swimming pools.
Step-by-Step Repair: Fixing a Leaky Compression Faucet
A compression faucet is the classic two-handle sink setup—one handle for hot, one for cold. It works by lowering a rubber washer onto a valve seat (the small metal opening that water flows through) to stop water. When that washer wears out, DRIP… DRIP… DRIP. (Yes, the soundtrack of 3 a.m.)
Here’s how to fix leaky faucet issues in this common setup.
Step 1: Remove the Handle
First, turn off the water supply under the sink. Look for a small decorative cap on top of the handle—this hides the screw. Gently pry it off with a flathead screwdriver. Remove the screw, then pull the handle straight up. If it resists, wiggle gently—don’t yank like you’re starting a lawn mower.
Step 2: Expose the Inner Mechanism
Under the handle sits the packing nut (a hex-shaped fastener that seals the stem). Use an adjustable wrench to loosen it. Once removed, you’ll see the valve stem assembly. Unscrew and lift it out carefully. This piece controls water flow by moving up and down inside the faucet body.
Step 3: Replace the Worn-Out Parts
Two usual suspects cause leaks:
- The O-ring (a small rubber ring that prevents side leaks)
- The seat washer (a thicker rubber washer at the bottom, held by a screw)
Unscrew the seat washer and replace it with an identical size. Slide off the old O-ring and roll on a new one. EXACT MATCHES matter—bring the old parts to the store if unsure. Pro tip: Apply a thin coat of plumber’s grease to extend lifespan.
Step 4: Reassemble and Test
Reassemble in reverse order. Tighten snugly but avoid OVER-TIGHTENING, which can crack components. Turn the water back on slowly and test. No drips? Victory is yours (Bob the Builder would approve).
What If Your Faucet Is Different? (Ball, Cartridge, and Ceramic Disk)
Not all faucets are built the same. If you opened yours up expecting a simple washer and found something totally different (cue the DIY confusion), you’re likely dealing with one of these common types.
Cartridge Faucets
These use a single plastic or brass cartridge to control water flow. To fix leaky faucet issues here, turn off the water, remove the handle, take out the retaining clip or screw, and pull the cartridge straight up. Replace it with an exact match. Pro tip: Bring the old cartridge to the store—manufacturers vary slightly, and guessing rarely works.
Ball Faucets
Common in kitchens, these use a slotted metal ball that rotates over rubber seats and springs. When leaks happen, it’s usually worn seats, springs, or O-rings. Repair kits include these small parts and are inexpensive. Take a photo before disassembly (future you will be grateful).
Ceramic Disk Faucets
Highly durable and modern, these use two ceramic disks inside a cylinder. When they leak, the entire cylinder assembly is typically replaced—similar to a cartridge swap.
If you’re tackling plumbing, it’s also smart to review related safety basics like common electrical problems at home and how to troubleshoot them before starting.
At first, it feels manageable. You tighten a nut, watch a tutorial, and tell yourself you can fix leaky faucet problems alone. But then the warning signs show up.
“If it won’t budge, stop,” a plumber once told me. Corroded or rusted parts, stripped screw heads, or a leak that keeps dripping after you’ve replaced washers are red flags. More importantly, if water seeps from the supply lines themselves, that’s not cosmetic—it’s structural.
Sure, DIY saves money. However, as one homeowner admitted, “I tried to fix it twice. The ceiling repair cost more.” Sometimes calling a professional prevents water damage
Enjoy the peace and quiet of a drip-free home. You came here to fix a dripping fixture, and now you know how to fix leaky faucet problems with confidence. That steady drip, drip, drip (basically water torture) is gone. More importantly, you’re no longer pouring money down the drain. According to the EPA, a faucet dripping once per second can waste over 3,000 gallons per year. So yes, it matters. In my opinion, it’s almost magical that a tiny rubber washer or O-ring—the circular seal that blocks water flow—can restore calm. Now, take that momentum and tackle the next win.
As you tackle the simple yet rewarding task of fixing a leaky faucet, you’ll find that honing your DIY skills not only saves you money but also fosters a sense of accomplishment that aligns beautifully with the principles outlined in our Beginner’s Guide to Personal Skill Development and Growth.
Stop Letting That Drip Drain Your Time and Money
You came here because that constant drip was driving you crazy — and costing you more than it should. Now you know exactly what causes the problem, how to handle it step by step, and what to watch for to prevent it from happening again.
A small leak might seem harmless, but over time it wastes water, increases your utility bill, and can even damage your fixtures. Ignoring it only makes the frustration — and the expense — worse.
The good news? You have what you need to confidently fix leaky faucet issues on your own and restore peace to your kitchen or bathroom.
If you’d rather skip the trial and error, get expert-backed, step‑by‑step home solutions trusted by thousands of DIY homeowners who want fast, practical results. Don’t let another drop hit the sink — explore our proven home hacks today and finally put that leak behind you.
 DIY & Smart Living Specialist
Alico Erbyons has opinions about smart living hacks. Informed ones, backed by real experience — but opinions nonetheless, and they doesn't try to disguise them as neutral observation. They thinks a lot of what gets written about Smart Living Hacks, Knowledge Corner, Lifestyle Organization Strategies is either too cautious to be useful or too confident to be credible, and they's work tends to sit deliberately in the space between those two failure modes.
Reading Alico's pieces, you get the sense of someone who has thought about this stuff seriously and arrived at actual conclusions — not just collected a range of perspectives and declined to pick one. That can be uncomfortable when they lands on something you disagree with. It's also why the writing is worth engaging with. Alico isn't interested in telling people what they want to hear. They is interested in telling them what they actually thinks, with enough reasoning behind it that you can push back if you want to. That kind of intellectual honesty is rarer than it should be.
What Alico is best at is the moment when a familiar topic reveals something unexpected — when the conventional wisdom turns out to be slightly off, or when a small shift in framing changes everything. They finds those moments consistently, which is why they's work tends to generate real discussion rather than just passive agreement.
DIY & Smart Living Specialist
Alico Erbyons has opinions about smart living hacks. Informed ones, backed by real experience — but opinions nonetheless, and they doesn't try to disguise them as neutral observation. They thinks a lot of what gets written about Smart Living Hacks, Knowledge Corner, Lifestyle Organization Strategies is either too cautious to be useful or too confident to be credible, and they's work tends to sit deliberately in the space between those two failure modes.
Reading Alico's pieces, you get the sense of someone who has thought about this stuff seriously and arrived at actual conclusions — not just collected a range of perspectives and declined to pick one. That can be uncomfortable when they lands on something you disagree with. It's also why the writing is worth engaging with. Alico isn't interested in telling people what they want to hear. They is interested in telling them what they actually thinks, with enough reasoning behind it that you can push back if you want to. That kind of intellectual honesty is rarer than it should be.
What Alico is best at is the moment when a familiar topic reveals something unexpected — when the conventional wisdom turns out to be slightly off, or when a small shift in framing changes everything. They finds those moments consistently, which is why they's work tends to generate real discussion rather than just passive agreement.