If you’re here, you’re probably staring at a dent, crack, or fist-sized gap in your wall and wondering how to patch drywall holes without making the damage look worse. The good news? You don’t need to be a professional contractor to get seamless results. With the right tools, materials, and step-by-step approach, you can restore your wall so it looks like the damage never happened.
This guide is designed to walk you through exactly how to patch drywall holes of all sizes—from tiny nail pops to larger repairs—using practical, proven methods that actually work in real homes. We’ve combined hands-on DIY experience with best practices recommended by professional renovators to ensure the techniques are reliable, durable, and beginner-friendly.
By the end of this article, you’ll know which repair method fits your specific situation, how to avoid common mistakes, and how to achieve a smooth, paint-ready finish with confidence.
Your Guide to a Flawless Drywall Fix
As you tackle the task of patching small holes in drywall, consider how a well-maintained interior can beautifully complement the Kdarchistyle architecture discussed in our article on Kd Architects – for more details, check out our Kdarchistyle Architecture Styles By Kd Architects.
A hole in the wall happens fast (moving day, anyone?), but fixing it doesn’t have to be complicated. Still, I’ll admit: not every repair goes perfectly on the first try. Humidity, wall texture, and paint match can all affect results.
To patch drywall holes smoothly, you’ll need:
- Lightweight spackle (a quick-drying wall filler)
- Putty knife
- Sandpaper (120–220 grit)
- Primer and paint
First, clean the area. Then apply filler in thin layers—thick coats can crack. Let it dry fully before sanding. Finally, prime and paint.
Is it always invisible? Usually. But blending texture can take patience. Fortunately, small imperfections often disappear once painted.
Gather Your Arsenal: The Right Tools & Materials
Before you patch drywall holes, get your setup right. The non-negotiables:
- 6-inch putty knife – flexible enough for smooth spreading, wide enough for clean feathering.
- Utility knife – trims loose drywall and scores tape.
- Sanding block or sponge (medium and fine grit) – medium for shaping, fine for that paint-ready finish.
- Drop cloth – because drywall dust travels (everywhere).
Choosing Your Filler
Not all fillers are equal. Spackling works best for nail holes and tiny dents (quick-dry, minimal shrinkage). All-purpose joint compound handles larger dents and taped seams. Topping compound is smoother—ideal for final coats. For high-traffic areas, vinyl patching compound resists cracking.
Pro tip: If the hole is bigger than a quarter, skip spackle.
Patching Materials
Use mesh tape for quick crack repairs; paper tape is stronger but needs compound underneath. For holes over an inch, grab a self-adhesive drywall patch.
Safety First
Wear safety glasses and a dust mask—especially while sanding. Drywall dust is no joke.
The Critical First Step: Preparing the Damaged Area
The first time I tried to patch drywall holes, I skipped prep (big mistake). The filler bubbled, cracked, and looked like a tiny volcano on my wall. Lesson learned: preparation is everything.
Cleaning the Hole
Use a utility knife to remove loose debris, peeling paper, and crumbling drywall. Think of this as creating a clean canvas. If it’s flaky now, it’ll fail later.
Creating a Solid Foundation
Slightly indent the edges of the hole. This forms a shallow “valley” where filler can settle. Without it, you’ll get a visible mound (and trust me, paint won’t hide it).
- Trim rough edges carefully
- Angle the blade inward for a subtle dip
Wipe Down the Surface
Dust blocks adhesion. Wipe the area with a damp cloth so the patch bonds securely.
For Larger Holes
For holes over 3 inches, create a simple backer using wood or sturdy cardboard tied with string. This anchor supports the filler and prevents it from collapsing inward.
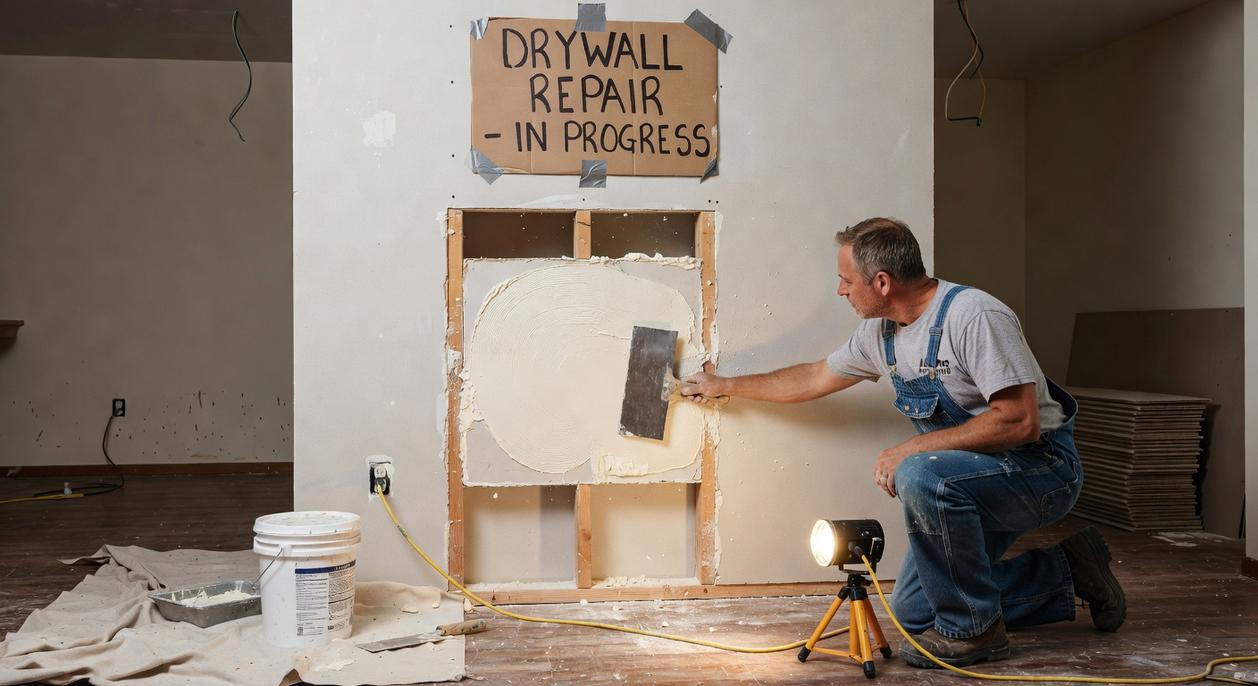
Applying the Patch: A Step-by-Step Guide
Step 1 – The First Coat (The Fill Coat)
Start by loading a small amount of joint compound (also called drywall mud, a paste used to repair wall surfaces) onto your putty knife. Press it firmly into the hole so it completely fills the cavity and embeds the tape or patch. Firm, even pressure is key here—think of it like icing a cake, but with more muscle (and less sugar).
Your goal isn’t just to cover the hole. It’s to eliminate air pockets and create a solid base layer. If you’re learning how to patch drywall holes, this first coat does most of the structural work.
Feathering the Edges
Feathering means spreading the compound thinner as you move away from the center of the repair. Extend the mud about 2–3 inches beyond the hole. This gradual thinning helps the patch blend into the surrounding wall instead of looking like a raised island. Without feathering, the repair will show through paint (and it will bother you every time you walk past it).
Step 2 – Drying Time
Let the first coat dry completely according to the manufacturer’s instructions. Drying time varies depending on humidity and product type. Rushing this step can cause cracks or shrinkage because the inner layer hasn’t cured. (Patience here saves sanding later.)
Step 3 – The Second Coat (The Skim Coat)
Apply a second coat that is wider and thinner than the first. If you have a wider putty knife, use it. This skim coat smooths imperfections and builds a seamless transition between the patch and the wall.
Step 4 – The Final Coat (If Needed)
After the second coat dries, inspect the surface under good lighting. If you see low spots or tool marks, apply a very thin final skim coat. A flawless finish here ensures your repair disappears once painted.
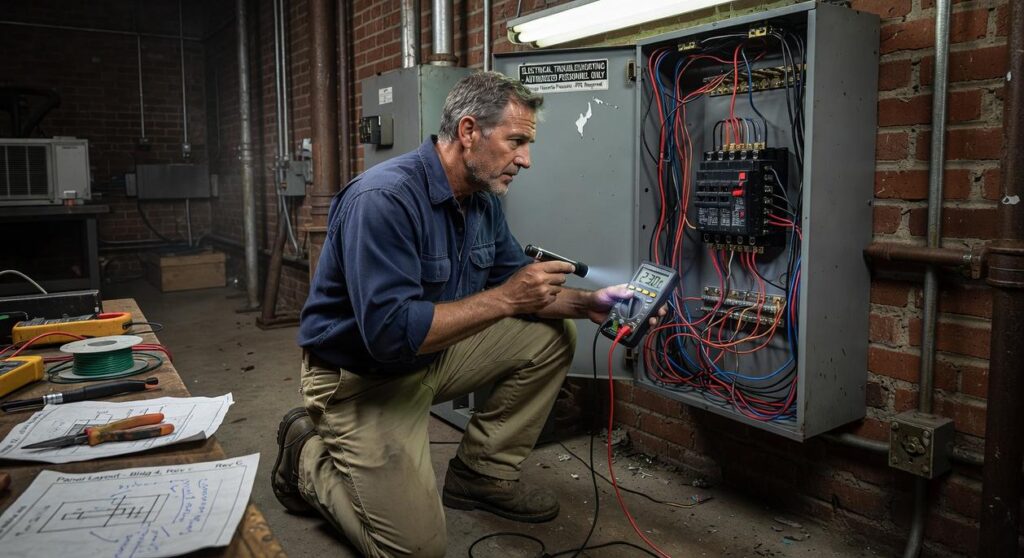
For other home fixes, review common electrical issues at home and how to troubleshoot them safely.
The Art of the Finish: Sanding and Priming
If there’s one place I’ve messed up more than once, it’s rushing the finish. After you patch drywall holes, it’s tempting to think the hard part is over. It’s not. In fact, this is where patience pays off.
Start with a medium-grit sanding sponge (120-grit). This grit refers to the coarseness of the abrasive—lower numbers mean rougher texture. Use it to knock down high spots or ridges, but keep a light touch. I once pressed too hard and gouged the fresh compound (which meant reapplying, waiting, and sanding all over again). Let the sponge do the work.
Next, switch to a fine 220-grit sponge for the final pass. Now you’re refining, not reshaping. The goal is a surface that feels seamless, with no visible or tactile edge between the patch and the wall.
Here’s the touch test: close your eyes and run your hand slowly over the area. Your fingers will catch imperfections your eyes miss. It sounds simple, yet it’s a game-changer.
Finally, priming is non-negotiable. New compound absorbs paint differently, leading to dull, blotchy “flashing.” I skipped primer once—never again. Prime first, then paint for a flawless finish.
Flawless Finishing Touches
To patch drywall holes seamlessly, texture must match. “Orange peel” and “knockdown” describe sprayed patterns; aerosol texture cans mimic them after priming. During final sanding, hold a flashlight parallel to the wall—side lighting exaggerates ridges and dips your eyes miss (it’s like movie-set lighting for walls). dramatically.
Enjoy Your Perfect, Restored Wall
Now, contrary to popular belief, you don’t need a contractor to patch drywall holes flawlessly. By prepping, filling, and sanding with patience, you’ve built a seamless, durable fix. In other words, the hard part’s done. Prime it, paint it, and watch the repair disappear completely.
You came here to figure out how to patch drywall holes the right way—without making a bigger mess or ending up with an obvious, uneven repair. Now you know the tools, the steps, and the small details that make the difference between a visible patch and a flawless finish.
Small wall damage can feel frustrating, especially when it keeps your space from looking clean and put together. The good news? With the right approach, even noticeable holes can disappear completely. A smooth, well-blended repair doesn’t just fix your wall—it restores the polished, organized feel of your home.
Ready for a Seamless Fix?
If you’re tired of staring at dents, cracks, or failed DIY attempts, it’s time to take action. Follow these steps carefully, use quality materials, and give yourself the patience to do it right. Want more practical home fixes and smart solutions that actually work? Explore our top-rated home improvement guides and start transforming your space today. Your walls—and your peace of mind—will thank you.
 Head of Content & Lifestyle Strategist
Ask Williamen Glaseroller how they got into home solutions and fixes and you'll probably get a longer answer than you expected. The short version: Williamen started doing it, got genuinely hooked, and at some point realized they had accumulated enough hard-won knowledge that it would be a waste not to share it. So they started writing.
What makes Williamen worth reading is that they skips the obvious stuff. Nobody needs another surface-level take on Home Solutions and Fixes, Smart Living Hacks, Lifestyle Organization Strategies. What readers actually want is the nuance — the part that only becomes clear after you've made a few mistakes and figured out why. That's the territory Williamen operates in. The writing is direct, occasionally blunt, and always built around what's actually true rather than what sounds good in an article. They has little patience for filler, which means they's pieces tend to be denser with real information than the average post on the same subject.
Williamen doesn't write to impress anyone. They writes because they has things to say that they genuinely thinks people should hear. That motivation — basic as it sounds — produces something noticeably different from content written for clicks or word count. Readers pick up on it. The comments on Williamen's work tend to reflect that.
Head of Content & Lifestyle Strategist
Ask Williamen Glaseroller how they got into home solutions and fixes and you'll probably get a longer answer than you expected. The short version: Williamen started doing it, got genuinely hooked, and at some point realized they had accumulated enough hard-won knowledge that it would be a waste not to share it. So they started writing.
What makes Williamen worth reading is that they skips the obvious stuff. Nobody needs another surface-level take on Home Solutions and Fixes, Smart Living Hacks, Lifestyle Organization Strategies. What readers actually want is the nuance — the part that only becomes clear after you've made a few mistakes and figured out why. That's the territory Williamen operates in. The writing is direct, occasionally blunt, and always built around what's actually true rather than what sounds good in an article. They has little patience for filler, which means they's pieces tend to be denser with real information than the average post on the same subject.
Williamen doesn't write to impress anyone. They writes because they has things to say that they genuinely thinks people should hear. That motivation — basic as it sounds — produces something noticeably different from content written for clicks or word count. Readers pick up on it. The comments on Williamen's work tend to reflect that.