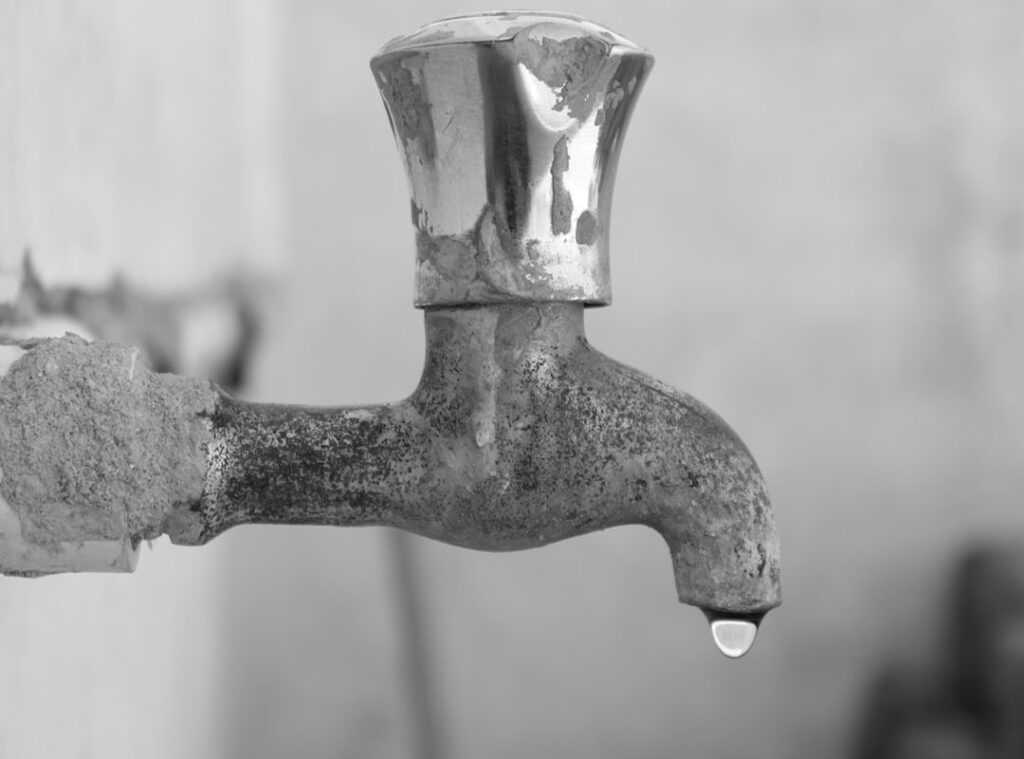
Drip… drip. That sound drives you crazy, right? A tiny leak, yet it feels like it’s tapping on your last nerve.
Not to mention the water and money just slipping away.
You’ve probably Googled “how to fix leaky faucet” a dozen times. I get it. I’m here to help you shut that noise up for good.
This guide cuts through the nonsense, offering simple steps to tackle that drip yourself. No plumbing wizardry needed.
Trust me, I’ve been there, done that, with countless projects. By the end, you’ll be equipped to handle the fix with confidence and ease.
Prep for Success: Important Tools and Safety
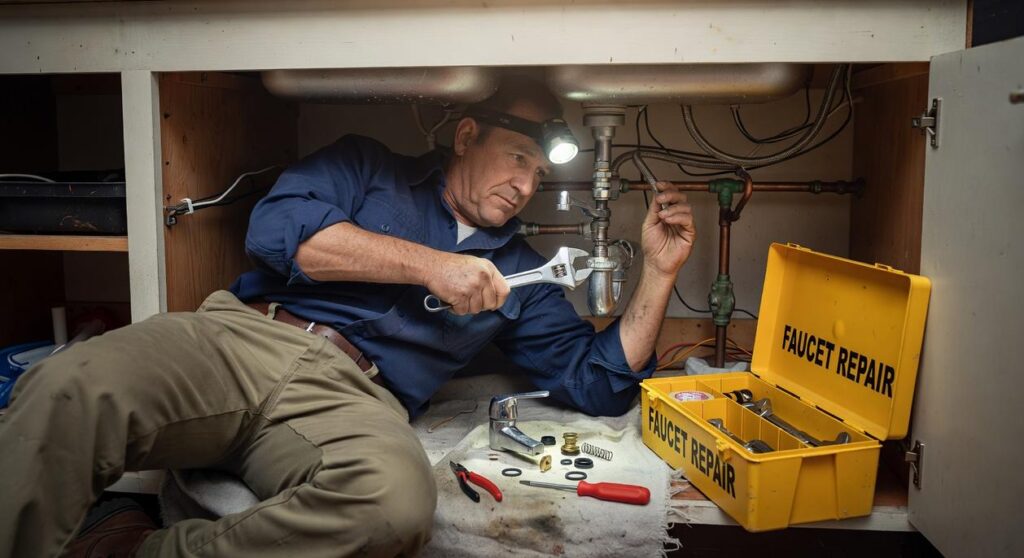
Before you dive into fixing that leaky faucet (trust me, it can be a real pain), gather your gear. An adjustable wrench is your best friend here, along with Phillips and flathead screwdrivers. Don’t forget slip-joint pliers and a rag.
You’ll probably need some replacement parts too. You know, like an O-ring or washer. Here’s a tip: take the old parts to the hardware store to match them exactly.
Safety first. Always. Find the shutoff valves under the sink.
Turn them clockwise until they’re tight. This stops the water flow (no one wants a flooded bathroom).
And here’s a pro tip: plug the drain with that rag. It keeps screws and small parts from disappearing into the abyss. Seriously, it saves a lot of headaches.
If you’re into making space work for you, you might want to learn more about creative storage ideas.
Get to Know Your Faucet: Fixing Drips Starts Here
Fixing that annoying drip isn’t just about grabbing a wrench and hoping for the best. No, the key is knowing your faucet type. Why?
Because each one has its own quirks and fixes. Without this knowledge, you’re just wasting time (and probably water).
First up, the compression faucet. This one’s got two handles, one for hot and one for cold. You tighten them down to stop water flow.
If you’ve got a leaky compression faucet, it’s likely a washer issue. These are the most common offenders when it comes to drips.
Now, let’s talk about the cartridge faucet. Typically, it’s a single handle that moves up, down, left, and right. The magic here is its smooth operation.
You feel it, right? Fixing these involves swapping out a single cartridge unit, making it fairly simple if you know what you’re doing.
Next in line, the ball faucet. It’s a single handle dancing over a dome-shaped ball. You usually find these in kitchens.
Here, the fix-it kit includes a metal ball, springs, and seals. Sounds complex, but once you get the hang of it, it’s straightforward.
Lastly, there’s the ceramic disk faucet. Super modern, with a single lever and a very durable internal mechanism. These aren’t prone to leaks, but if they do, you’ll replace the whole disk cylinder.
It’s rare, but it happens.
So, before you dive into repairs, figure out your faucet type. Then, you can confidently fix leaky faucet issues without second-guessing. Because knowing is half the battle, right?
The Main Event: How to Fix That Annoying Faucet Drip
Fixing a leaky faucet isn’t rocket science, but it can be a bit of a headache if you’re not prepared. Especially with those two-handle compression faucets. Let me walk you through it, step by step.
Trust me, it’s not as hard as it looks.
First up, the handle removal. Most of these faucets have decorative caps labeled “H” or “C” for hot and cold. You’ll want to pry those off with a flathead screwdriver.
Careful not to scratch the finish (nobody wants to add that to the fix list). Once you’ve removed the cap, it’s time to get the screw underneath. Just unscrew it and pull the handle straight up.
Now we’re getting somewhere. With the handle off, you need to access the stem. Take an adjustable wrench and loosen the packing nut.
That’s the one holding the valve stem in place. Unscrew the entire valve stem. It might sound daunting, but it’s all straightforward.
Here’s where it gets interesting. At the bottom of the stem, you’ll find a small rubber washer held by a brass screw. This is almost always the culprit behind that pesky drip.
It’s like the villain in a bad movie. Unscrew it and swap out the washer.
While you’re at it, check the O-ring around the stem. It prevents leaks around the handle, so it’s a good idea to replace it too. You don’t want to fix one leak just to find another.
Time for reassembly. Put everything back together in reverse. Don’t overtighten.
I learned that the hard way (stripped threads are no joke).
Finally, test your work. Slowly turn the water supply back on and keep an eye out for leaks. If it’s dry, you’ve done it!
Celebrate that victory over the drip. It’s empowering to handle these things yourself, isn’t it?
For more practical fixes, you might also want to check out some diy solutions squeaky doors. After all, one home repair often leads to another.
Fixing Faucets: A Fast Guide
Ever try to fix a leaky faucet and feel like you’re defusing a bomb? You’re not alone. Most faucets have a similar fix-it path: turn off the water, remove the handle, and swap out the internal parts.

Cartridge faucets are a bit like pulling a magic trick. Instead of a washer, you remove a retaining clip or nut, then yank out the entire plastic or brass cartridge. It’s straightforward once you get the hang of it. You’ll feel like David Blaine of plumbing in no time.
Ball faucets? They’re a different beast. You loosen the cap, lift out the ball mechanism, and replace the tiny rubber seats and springs.
A special tool often comes with the replacement kit. Thank the DIY gods for that. It’s like having a cheat code for your sink.
Ceramic disk faucets are the tough guys. Most durable, but when they need fixing, you remove the whole cylinder. New one goes in, and here’s the kicker: alignment matters.
Mess it up, and you’ll be back at square one. So take your time.
In short, each faucet has quirks, but they’re all manageable. Just remember: patience and the right tools go a long way.
When to Dial a Plumber: The Signals You Can’t Miss
Let’s be real. Not every fix leaky faucet attempt ends with triumph. Sometimes, you just need to call a professional.
Struggling with a corroded part that won’t budge? That’s your cue. Or if the drip’s stubbornly sneaking from the faucet base, not the spout (yeah,) time to stop.
And once you’ve replaced everything but the leak’s still there (or worse), it’s a sign. Don’t feel comfy proceeding? No shame in that. Trust your gut and know when to step back.
After all, knowing when to call a plumber is just as important as knowing when to DIY.
Silence That Drip for Good
You’ve nailed it. By now, you know how to fix leaky faucet problems like a pro. That maddening drip?
A problem of the past. You’ve identified your faucet, replaced a cheap part, and saved cash. Peace and quiet have returned to your home.
Pretty satisfying, right? But don’t stop there. Don’t let that annoying drip win.
Grab your tools, follow the steps, and get it fixed today. Take back control. You deserve a drip-free sanctuary.
Ready to enjoy the quiet? Get started now. You’ll be proud of what you’ve accomplished.
Let’s bring calm back to your life.
 DIY & Smart Living Specialist
Alico Erbyons has opinions about smart living hacks. Informed ones, backed by real experience — but opinions nonetheless, and they doesn't try to disguise them as neutral observation. They thinks a lot of what gets written about Smart Living Hacks, Knowledge Corner, Lifestyle Organization Strategies is either too cautious to be useful or too confident to be credible, and they's work tends to sit deliberately in the space between those two failure modes.
Reading Alico's pieces, you get the sense of someone who has thought about this stuff seriously and arrived at actual conclusions — not just collected a range of perspectives and declined to pick one. That can be uncomfortable when they lands on something you disagree with. It's also why the writing is worth engaging with. Alico isn't interested in telling people what they want to hear. They is interested in telling them what they actually thinks, with enough reasoning behind it that you can push back if you want to. That kind of intellectual honesty is rarer than it should be.
What Alico is best at is the moment when a familiar topic reveals something unexpected — when the conventional wisdom turns out to be slightly off, or when a small shift in framing changes everything. They finds those moments consistently, which is why they's work tends to generate real discussion rather than just passive agreement.